Next.jsとAmplifyでアプリをすばやくホスティングする
こんにちは株式会社ベンジャミンの市川です!
吹く風もはや夏めいてまいりましたが、お健やかにお過ごしでしょうか。
今回は、弊社の案件でも利用することの多いフレームワーク Next.js と AWS Amplifyを使って、すばやくアプリをホスティングしてみましたので、その方法について書いていきます。
環境情報
- Next.js 13.4.2
- yarn v1.22.19
- npm v8.11.0
- Amplify CLI 8.3.0
- macOS Monterey 12.5
前提
- yarn がインストール済みであること
- npm(Node Package Manager) がインストール済みであること
- AWSアカウントを持っていること
1. Next.jsでアプリを新規作成する
アプリを新規作成する
- yarn を使ってアプリを作成する
yarn create next-app- インタラクティブになるので、以下のとおり選択する
xxxxxxxxx@xxxxxxxxMacBook-Pro bjmblog-nextjs-amplify % yarn create next-app

yarn create v1.22.19
warning package.json: No license field
[1/4] 🔍  Resolving packages...
[2/4] 🚚  Fetching packages...
[3/4] 🔗  Linking dependencies...
[4/4] 🔨  Building fresh packages...

success Installed "create-next-app@13.4.2" with binaries:
      - create-next-app
✔ What is your project named? … my-app
✔ Would you like to use TypeScript with this project? … No / Yes ※ 「Yes」を選択し、Enterする。
✔ Would you like to use ESLint with this project? … No / Yes ※ 「Yes」を選択し、Enterする。
✔ Would you like to use Tailwind CSS with this project? … No / Yes ※ 「No」を選択し、Enterする。
✔ Would you like to use `src/` directory with this project? … No / Yes ※ 「Yes」を選択し、Enterする。
✔ Use App Router (recommended)? … No / Yes ※ 「Yes」を選択し、Enterする。
✔ Would you like to customize the default import alias? … No / Yes ※ 「No」を選択し、Enterする。
Creating a new Next.js app in /Users/xxxxxxx/bjmblog-nextjs-amplify/my-app.- 作成したディレクトリへ移動する
cd my-app- ローカルサーバーを起動する
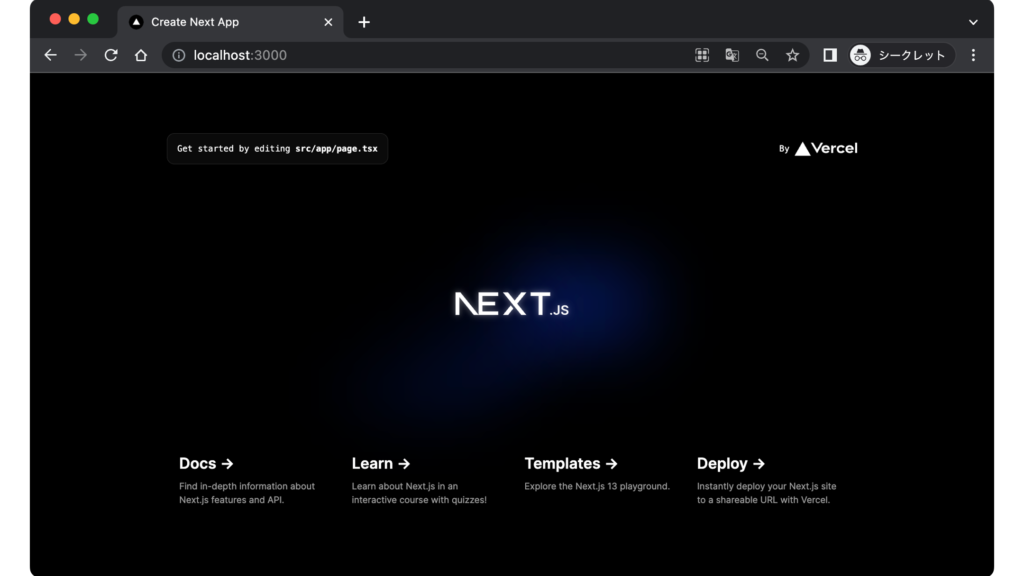
yarn dev- http://localhost:3000/ にアクセスし、以下のような画面が表示されていれば完了
2. 作成したアプリをAmplify でホスティングする
Amplify CLI をインストールする
- Amplify CLI をインストールする
npm install -g @aws-amplify/cli@8.3.0- インストールされたか確認する
amplify --version
10.5.x ← コマンドを打ったあとにバージョンが表示されればインストールできています
Amplify 用の IAM ユーザーを作成する
- amplify configure を設定する
amplify configureFollow these steps to set up access to your AWS account:
Sign in to your AWS administrator account:
https://console.aws.amazon.com/
Press Enter to continue ※ブラウザが開きAWSコンソール画面になるので、それを閉じてこちらへ戻りEnterする。
Specify the AWS Region
? region:  <ap-northeast-1> ※矢印キーでリージョンを探し、Enterする。
Specify the username of the new IAM user:
? user name:  <User name for Amplify IAM user> ※Enterする。
Complete the user creation using the AWS console: <URL> ※Enterする。
Enter the access key of the newly created user:
? accessKeyId: <ACCESSKEYID> ※自分のアクセスキーを入力する。
? secretAccessKey: <ACCESSKEY> ※自分のシークレットアクセスキーを入力する。
This would update/create the AWS Profile in your local machine
? Profile Name: default ※Enterする。(参考: https://docs.amplify.aws/start/getting-started/installation/q/integration/js/#option-1-watch-the-video-guide)
Amplify プロジェクトを新規作成する(CloudFormation)
※ 作成済みのmy-appにいることが前提です
- amplify init を設定する
amplify init

Note: It is recommended to run this command from the root of your app directory
? Enter a name for the project (my-app) ※Enterする。

? ? Initialize the project with the above configuration? (Y/n): ※ 「Y」を入力し、Enterする。

? Select the authentication method you want to use: (Use arrow keys)
❯ AWS profile ※ 「AWS profile」を選択し、Enterする。
  AWS access keys

? Please choose the profile you want to use ※矢印キーで「default」を探し、Enterする
❯ default
amplify-cli-user- 少し待つと、以下の画面が表示されます
\ Initializing project in the cloud...

CREATE_COMPLETE my-app AWS::CloudFormation::Stack Mon July 15 2023 12:00:00 GMT+0900 (GMT+09:00)
√ Successfully created initial AWS cloud resources for deployments.
√ Initialized provider successfully.
✅ Initialized your environment successfully.

Your project has been successfully initialized and connected to the cloud!
...
ホスティング機能を Amplify に追加する
- amplify add hosting を実行する
amplify add hosting
✔ Select the plugin module to execute: ※「Hosting with Amplify Console (Managed hosting with custom domains, Continuous deployment)」を選択し、Enterする。
? Choose a type
  Continuous deployment (Git-based deployments)
❯ Manual deployment ※ 「Manual deployment」を選択し、Enterする。
Learn more- ホスティング機能がローカルの Amplify に追加されたか確認する
amplify status

    Current Environment: dev

┌──────────┬────────────────┬───────────┬───────────────────┐
│ Category │ Resource name  │ Operation │ Provider plugin   │
├──────────┼────────────────┼───────────┼───────────────────┤
│ Hosting  │ amplifyhosting │ Create    │ awscloudformation │ ← ホスティング機能が追加されています
└──────────┴────────────────┴───────────┴───────────────────┘
Amplify にパブリッシュし、公開(発行)された URL をコピーする
- amplify publish を実行し、発行されたURLをコピーする
amplify publish
⠇ Fetching updates to backend environment: dev from the cloud.Overrides functionality is not implemented for this category
✔ Successfully pulled backend environment dev from the cloud.
...
? Are you sure you want to continue? (Y/n) : ※ 「Y」を入力し、Enterする。
...
✔ Zipping artifacts completed.
✔ Deployment complete!
https://dev.xxxxxxxxxxxx.amplifyapp.com ※ ←←←このURLをコピーします。
Amplify 経由で アップロード(ホスティング)したアプリが公開されているかブラウザで確認する
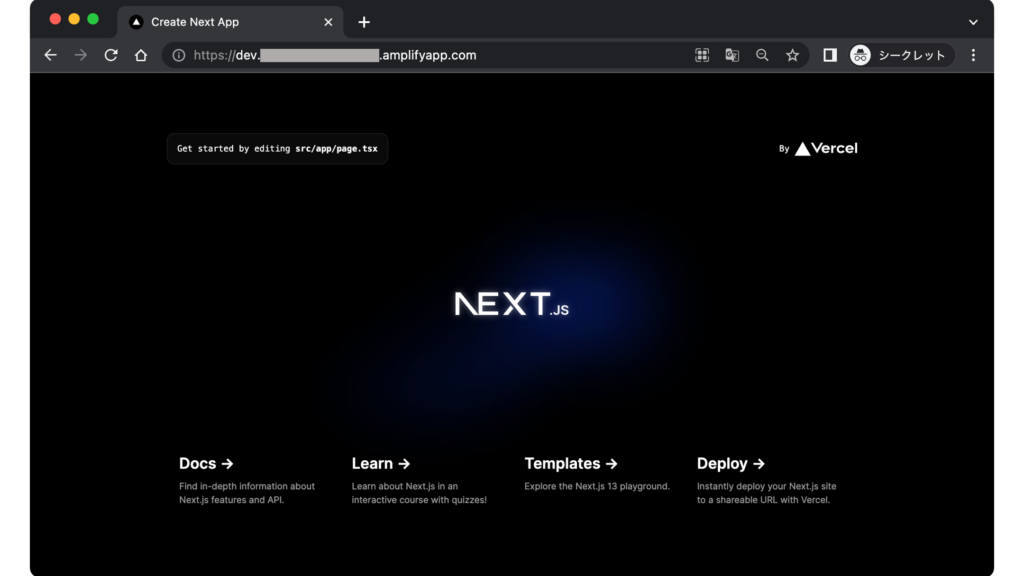
- ブラウザを開き、先ほどコピーした URL を貼り付け Enter します。
無事にアプリの画面が表示されていれば、ホスティング完了です。
あとがき
いかがでしたでしょうか?Amplifyを使うと、S3 & CloudFrontよりもすばやくホスティングすることができます。
それぞれメリット・デメリットはありますが、簡単なアプリをさくっと公開したいときはAmplifyが便利だなと感じました!
以上、この記事が皆様のお役に立てれば幸いです。それでは。


